How to Upload a Contact List and Associate it to a Campaign
How to Upload a Contact List and Associate it to a Campaign
.svg)


STEP 1
Start on the homepage of the dashboard. Click on the Orange lettering at the top of the page that says “Contact Lists”.

STEP 2
Click the button towards the top of the page that says “IMPORT CONTACT LIST”.
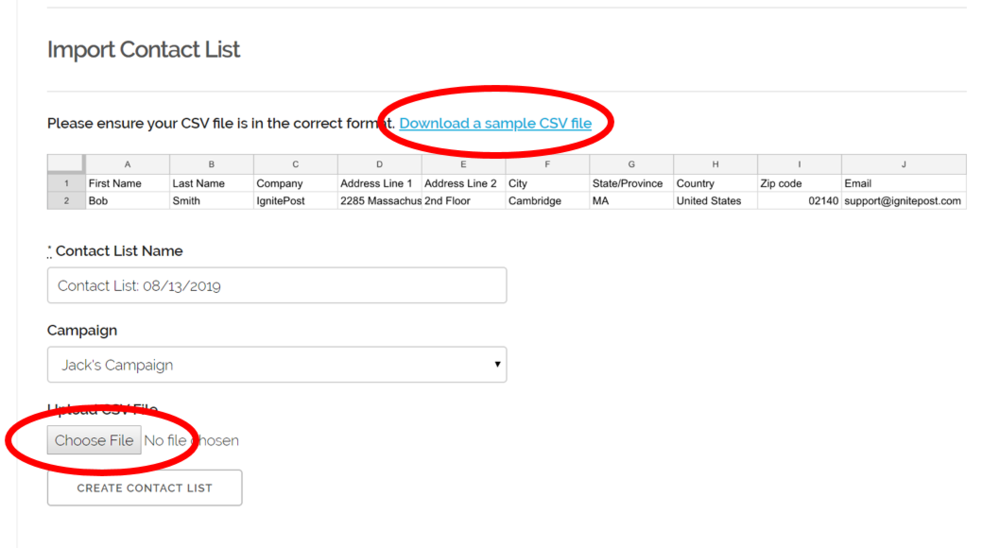
STEP 3
If you have a contact list already, make sure it is in the correct format and you can click the “Choose File” button to upload it from your computer. If you do not have a contact list, click the hyperlink that says “Download a sample CSV file” and it will take you to a CSV file that you can fill out. Save it to your computer and upload up the same way as the directions earlier in this step.
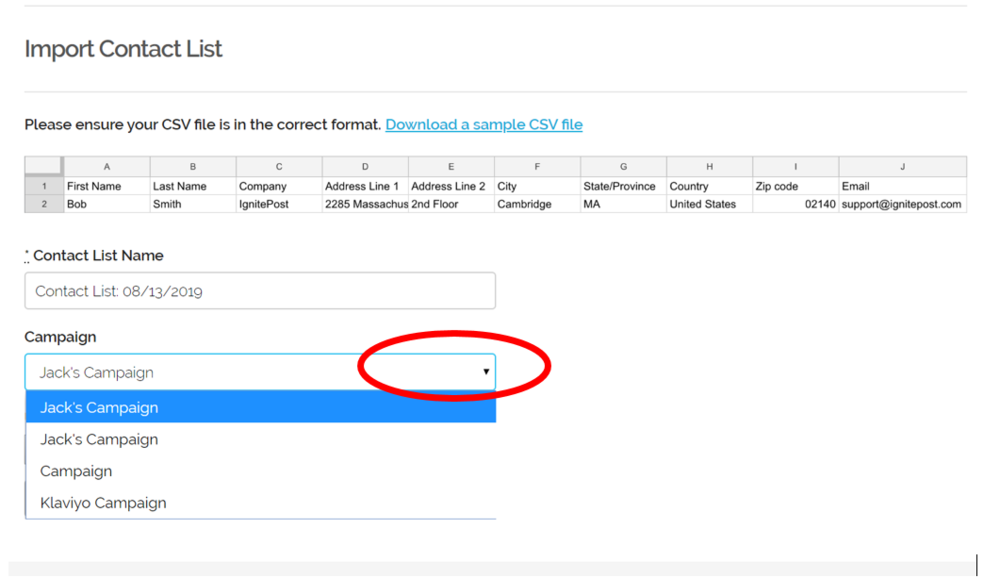
STEP 4
Choose the Campaign you want it to be associated to by clicking the dropdown menu under “Campaign”, there should be a list of all your active campaigns. Pick the corresponding campaign this list is going to.
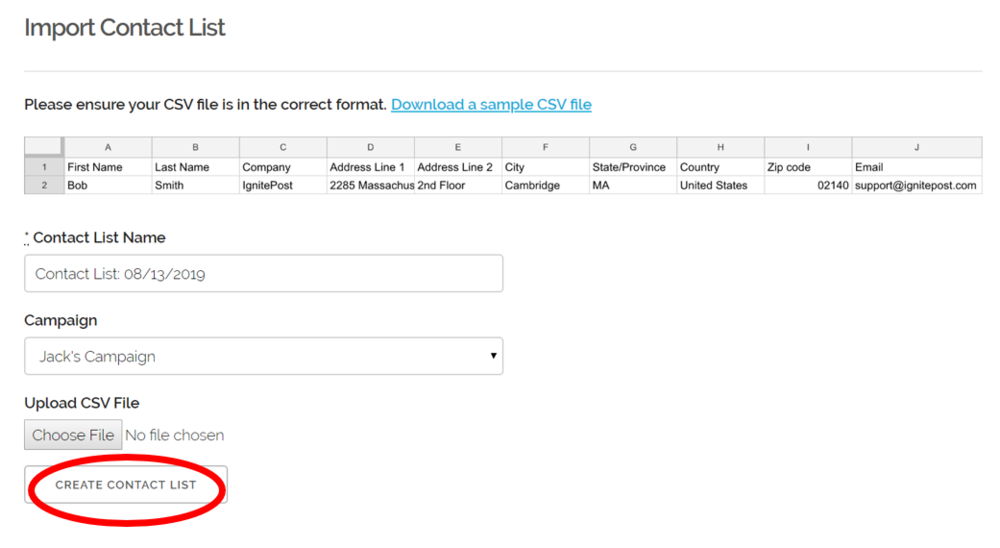
STEP 5
Click the “CREATE CONTACT LIST” at the bottom of the page and your list will be uploaded to your campaign!
.svg)
Read more insights


-min.png)
Get expert insights for real mail campaigns
Everything you need to launch, run and scale handwritten card mail campaigns. Subscribe today!


.png)


Ready to create your first magic moment?🚀
Start using IgnitePOST today. It's free to signup!
No contracts, no commitment and unbelievable support.